Tuesday, August 30, 2022

By The Moonlight!!

It’s Wednesday, and this week, I made a Hallowe'en card using High Hopes Rubber Stamps By The Moonlight - TT047 for the image and Block Happy Halloween - FF049 for the sentiment. These little friends are ready for some spooky fun on Hallowe'en.

To make my card this week, I began with a card base of Hammermill - Premium Colour 100 lb., cut and scored to be 5.5" x 4.25". I die cut the background from Stampin' UP! - Magic In This Night Designer Series Paper to be the same size as the base. Using a combination of Tim Holtz Distress Ink - Black Soot, Villainous Potion, Seedless Preserves and Fossilized Amber and finger daubers, I added some extra colour to the background. Martha Stewart - Hallowe'en Washi Tape was placed across the bottom. I cut Doodlebug Design Inc. - Hallowe'en Parade cardstock to the size of 1-1/8" x 4.25". I ran this through my Xyron Create a Sticker and adhered it to the base card above the washi tape.

I stamped the main image and sentiment onto Copic Marker X-Press It Blending Card cardstock using my MISTI and Memento - Tuxedo Black ink. The main image was a little short for the full width of the card so I added some double-sided tape to a couple scraps of Copic Marker X-Press It Blending Card cardstock and adhered them to both sides of the fence. The image and sentiment were then both coloured in. The image was fussy cut and U-Line double-sided tape was applied to it. I popped it up onto the card and then cut off the excess from the fence on both sides.  I cut around the sentiment and then ran it through my Xyron Create a Sticker and applied it to a piece of Recollections - Black cardstock. Once again, I used my cutter to go around the sentiment, leaving a slight border. U-Line double-sided tape was applied to the back of the sentiment and it was popped up onto the striped paper background to complete the card.

Card Recipe:

Stamps: By The Moonlight - TT047 (High Hopes Rubber Stamps)

Sentiment: Block Happy Halloween - FF049 (High Hopes Rubber Stamps)

Inks: Memento - Tuxedo Black, Tim Holtz Distress Ink - Black Soot, Villainous Potion, Seedless Preserves and Fossilized Amber

Paper: Copic Marker X-Press It Blending Card, Hammermill - Premium Colour 100 lb., Doodlebug Design Inc. - Hallowe'en Parade (6 in. x 6 in.), Recollections - Black cardstock, Stampin' UP! - Magic In This Night Designer Series Paper (12" x 12")

Tools: MISTI - Most Incredible Stamping Tool, U-Line double-sided tape, Xyron Create a Sticker

Image coloured with Copic Markers:

Black Cat: C8, C6, C4, C3, BV17, R22, R30

Mouse: W5, W3, W1, R02, R00

Bats: BV25, BV23

Fence: E49, E27, E25, E23, E21

Moon: Y00, BV20, C1, C00, Colorless Blender

Sentiment: YR04, Y17, V09, V06, V04, YG23, YG05

Hope you like it and have a fantastic week!

Check out more adorable Fall images at High Hopes Rubber Stamps!

You can find lots of inspiration from the Design Team Divas at the High Hopes blog, and the High Hopes Rubber Stamps Facebook Fan page plus you can also follow us on
Instagram, Twitter and Pinterest.


Trick or Treat!

Hello!!!
Look at this adorable bear all dressed up to go trick or treating! This is the sweet "Angel Bear Clown" from High Hopes Rubber Stamps. This cutie is the last card I made for the High Hopes Fall/Halloween theme for August. I've sure had fun playing with the adorable images from High Hopes!
I stamped my image onto Copic friendly paper using some Memento Black Ink. Using a MFT Zig Zag die, I cut the image out. Lots of designer paper layers and some banner die cuts from the Doodlebug "Ghost Town" and Candy Carnival" 6x6 collections. were used. I added some glitter pen to the wings for a bit os sparkle. The HH "Trick or Treat" sentiment ties my image and card design together.
Copics Used:
Bear: E21, E23, E25, E29, E59
Wings: B0000, B000, B00
Pumpkin: YR02, YR04, YR09
Pinks: RV04, RV06, RV09, RV55
Purple: V04, V05, V06, V09
Green: YG03, YG17
Yellow: Y35, YR23

Don't forget to head on over to the High Hopes website and see all Lora's adorable stamps! You can find more inspiration from the Design Team by visiting the High Hopes Blog and Facebook page too!
Happy Stamping!

Monday, August 29, 2022

Pumpkin Patch

Howdy - MichelleO here today and I am trying to feel Fall! Coloring it up seems to work for now. This image is from High Hopes Stamps and is called "Pumpkin Patch" - love that potted flowers next to those pumpkins!  

 
Looking back I probably should have colored the flowers red to match the papers better, but I was really in a purple flower mood... LOL I colored with my Copics (colors below) and then went to find papers to match up (see how the red should have been my choice) The sentiment is also from High Hopes Stamps - Happy Harvest
 
Two pieces in my scraps that felt fall like. stripes from SEI and then that fun brown circle paper from Farmers. A dark brown card stock for a base, and everything is sewn down after inking around the edge of the image with Rangers Tea Dye ink. Makes that thread pop I think. After looking high and low for the pumpkin buttons I know I have - I gave up and found three orange enamel dots instead. I'll find those pumpkin buttons in winter or spring I am sure. 
 
Copic colors used -

Love this image - it just has that fall crisp air feel to it. There are so many from High Hopes that just make me feel the season. Have you visited the website and fallen in love with so many? Pop over HERE and you will I promise! 

thanks! 


Thursday, August 25, 2022

Happy Halloween

  All month long the High Hopes design team has been sharing gorgeous fall and Halloween inspiration. I can't believe I am sharing my last card for the month already! so I'm sneaking in a Halloween card featuring "Angel Bear Pumpkin Costume and Haunted House" from High Hopes Rubber Stamps. He is looking very nervous about trick or treating at this haunted house!


After stamping on alcohol marker friendly paper I coloured them with Copic markers. I didn't use all of the haunted house stamp because I wanted the house and moon to be the focus of my background. I cut to size and added a black frame I cut using a square die and popped it up with foam pop dots. 
After the background was added to a piece of patterned paper from the Spookville pad from We R Memory Keepers I glued it down on the card base. Next I added the hand fussy cut Angel Bear with pop dots to the edge of the frame. I added a die cut spider web and bats for some added spookiness. A sentiment and enamel dots finish off my spooky scene.

Card Details

Stamps - Angel Bear Pumpkin Costume (R138)Haunted House (U010) - High Hopes Rubber Stamps
Sentiment - Happy Halloween Script (F232) - High Hopes Rubber Stamps
Patterned Paper - Spookville - We R Memory Keepers

Spider and bat die - Your Next Stamp, 3D foam pop dots, enamel dots

Pumpkin - Y35 Y38 YR16 YR18 Y11 Y15 Y18
Body - E31 E34 E35 E29
Nose - T4 T6 T8
Stem - E23 E57 E59
Ears - R000 R20 R21
Bow tie - V15 V17 V99
Wings - V20 V22
Haunted House
Sky - V22 V25 BV23 BV25
Fence - C1 C2 C4 C5
Tree and Path E34 E57 E59
Bats - T4 T6 T8
Windows - Y11 Y15 Y18
House - E71 E74 E79
Moon - E40 E41 E43
Grass - G46 G28 G29 BG99

Thanks for stopping by! Have a super fantastic day!


Tuesday, August 23, 2022

Boo Pals!!

It’s Wednesday, and this week, I made a Hallowe'en card using High Hopes Rubber Stamps Boo Pals - SS007 for the image and Boo-tiful Day - E233 for the sentiment. Hallowe'en is now only a few months away! Wow! Where has this year gone? Time seems to be flying by so fast!

To make my card this week, I began with a card base of Hammermill - Premium Colour 100 lb. cardstock, cut and scored to be 5.5" x 4.25". I cut the background paper from Recollections - Black cardstock to be the same size as the base card and attached it using double-sided tape. Using My Creative Time - Rectangle Frame Layers and my Anna Griffin Empress Mini Machine, I die cut Doodlebug - Pumpkin Party cardstock. I just love these little ghosts. With a finger dauber and Tim Holtz Distress Ink - Villainous Potion, I inked around all of the edges of the die cut. U-Line double-side tape was applied to the back of this piece and I popped it up onto the base card. Using the same cutting machine, I die cut Copic Marker X-Press It Blending Card cardstock using Nestabilities Dies - Deckled Rectangles - Large.

I stamped the main image onto the Copic Marker X-Press It Blending Card die cut using my MISTI and Memento - Tuxedo Black ink and coloured it in. I created my own moon shape using a 2" circle mask that I had created earlier with a Fiskars hand punch. The eyes and nose for the cat and ghost were added in using a Sakura Glaze - Black pen. I ran the coloured image through my Xyron Creative Station and attached it to Recollections - Black cardstock. I didn't have a larger die of the same shape, so I put the piece that I had adhered together into my Brother Scan 'N Cut and created a .08" border around it. This created the small black border to make the image pop. The sentiment was stamped onto a scrap piece of Copic Marker X-Press It Blending Card cardstock using my MISTI and Memento - Tuxedo Black ink and then it was die cut using my cutting machine and Poppystamps - Christmas Quotes. Tim Holtz Distress Ink - Wilted Violet and a finger dauber were used to go around the die cut.

The card was now ready to assemble. I added U-Line double-sided tape to the back of the frame and sentiment and popped them both up onto the card to finish it off.

Card Recipe:

Stamps: Boo Pals - SS007 (High Hopes Rubber Stamps)

Sentiment: Boo-tiful Day - E233 (High Hopes Rubber Stamps)

Inks: Memento - Tuxedo Black, Tim Holtz Distress Ink - Wilted Violet, Tim Holtz Distress Ink - Villainous Potion

Paper: Copic Marker X-Press It Blending Card, Hammermill - Premium Colour 100 lb., Doodlebug - Pumpkin Party (12" x 12"), Recollections - Black cardstock

Die Cuts: My Creative Time - Rectangle Frame Layers, Spellbinders Nestabilities Dies - Deckled Rectangles Large (S4-202), Poppystamps - Christmas Quotes

Tools: MISTI - Most Incredible Stamping Tool, U-Line double-sided tape, Anna Griffin Empress Mini Machine, Sakura Glaze - Black, Brother Scan 'N Cut, Xyron Creative Station

Image coloured with Copic Markers:

Black Cat: C8, C6, C4, C3, R30, R22, (Eyes and Nose - Sakura Glaze - Black)

Ghost: BV20, C0, Colorless Blender, (Eyes and Nose - Sakura Glaze - Black)

Tombstone: W5, W3, W1, W0, 100

Grass: G99, G94, G21, YG97, YG17

Sky: BV29, BV25, BV23. BV20

Moon: BV23, BV20, C1, C0, C00, Y00, Colorless Blender

Hope you like it and have a spooktacular week!

You can find lots of inspiration from the Design Team Divas at the High Hopes blog, and the High Hopes Rubber Stamps Facebook Fan page plus you can also follow us on
Instagram, Twitter and Pinterest.


Happy Halloween!

Happy Tuesday!
Tuesday means it's my day to be here on the HH Blog! Carrying on with the Fall/Halloween theme I decided to use "Pumpkin Treat" from High Hopes Stamps. He was quick and easy to colour and makes an adorable card quickly!
To start my card today, I stamped the image using Memento ink on Copic friendly paper. Then using my Copic Sketch Markers, I coloured my image in. I chose papers from the Bella Blvd. "Spooktacular" 6x8 collection. I cut the image out using a Memory Box Stitched Scallop Circle die and popped it up using foam tape. I cut the "Happy Halloween Script" sentiment out using a die from the Studio Katia Darling Ribbon and Dotted Frames set. A scattering of enamel dots and Stickles on the yellow parts finish off my card.
Copics Used:
Pumpkin: YR14, YR15, YR16, YR18
Purple: BV02, BV04, BV08
Yellow: Y19. YR23
Green: YG63, YG67

Don't forget to head on over to the High Hopes website and see all Lora's adorable stamps! You can find more inspiration from the Design Team by visiting the High Hopes Blog and Facebook page too!
Happy Stamping!


Monday, August 22, 2022

Lg. Guard Duty Rudy

Howdy - MichelleO here today -

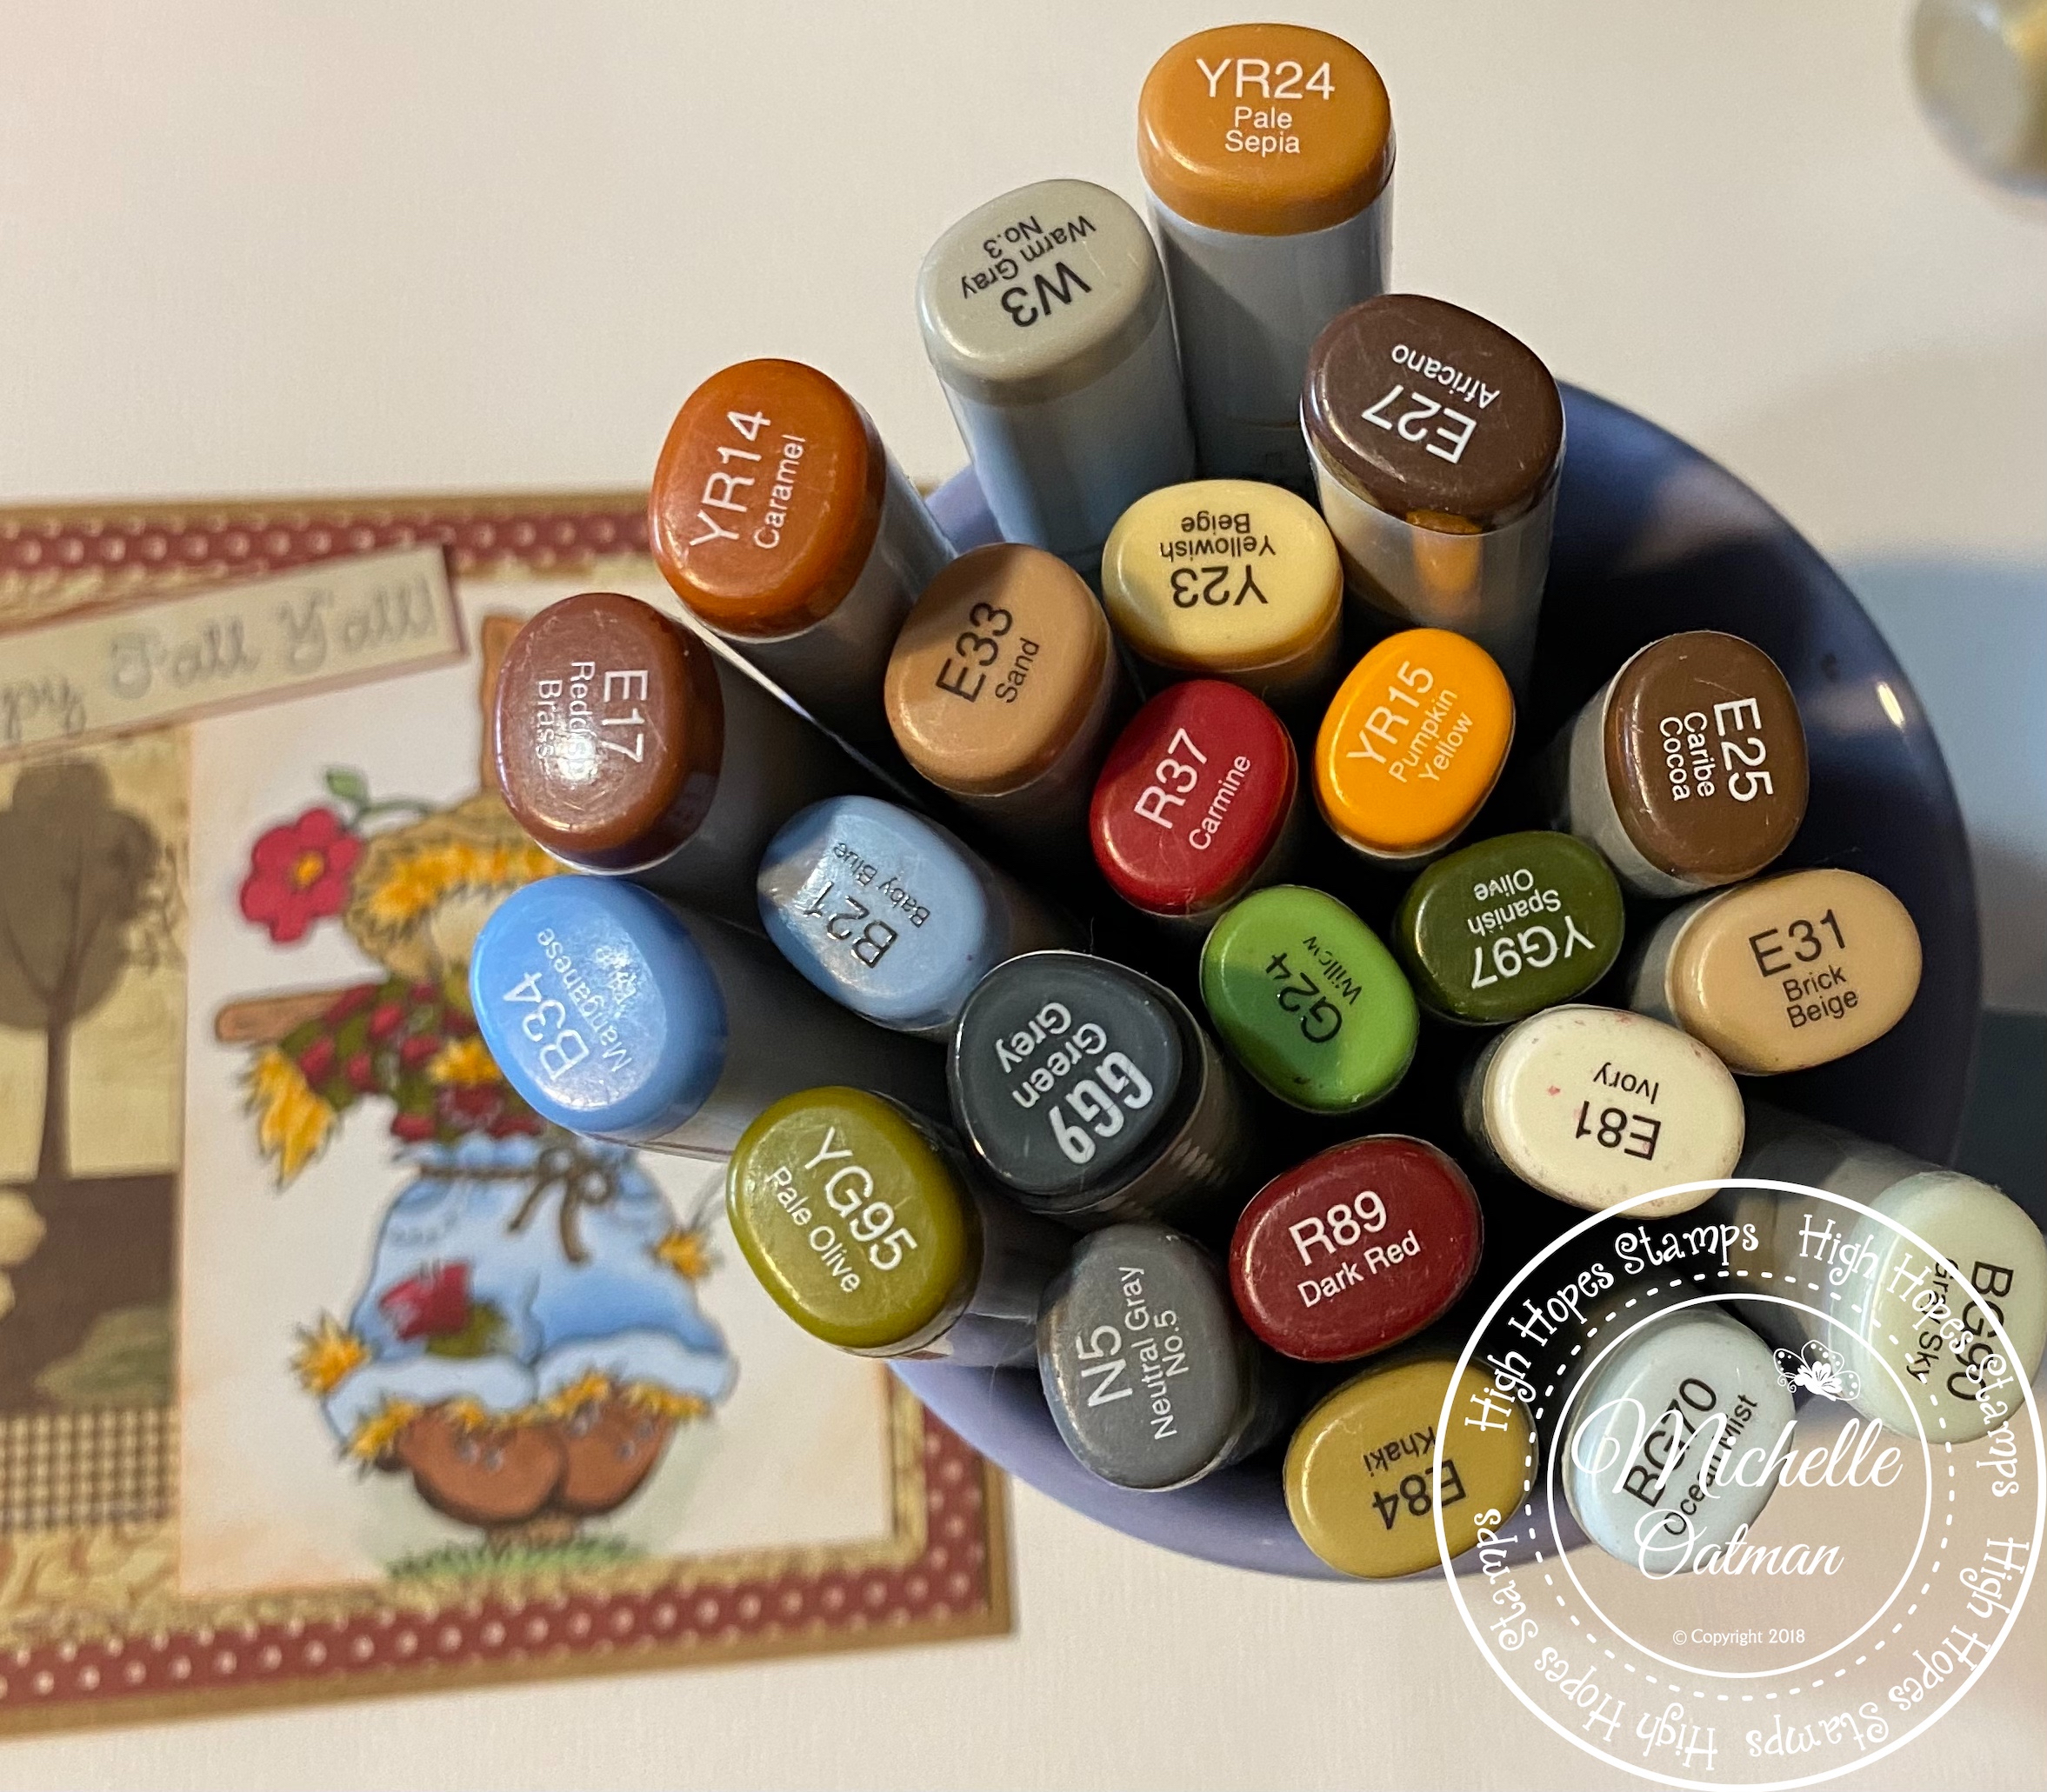
Coloring up a little Fall today with High Hopes Stamps - Lg. Guard Duty Rudy,  such a cute little scarecrow.  

Sweet guy is colored with my Copics (colors below) and then highlighted with white paint pen. I found some older papers from Simple Stories Generations collection. Loved the warm fall feel of these papers with the scarecrow. I sewed down the layers, inked up the edges of the image, and then added the High Hopes Stamps sentiment "Happy Fall Y'all!" - a favorite fall sentiment as it goes with so many things and I just love that font! Three enamel dots as they were on my desk and matched perfectly! 

Copic colors used -

There are so many fabulous images at High Hopes Stamps to fall in love with! They make me smile and happy when coloring. Click HERE to see the High Hopes Stamp Web Store .