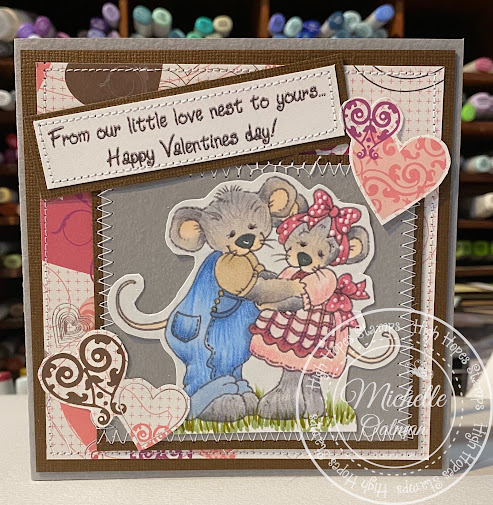
It’s Wednesday, and this week, I made a card using High Hopes Rubber Stamps Nurse Elizabeth Jo - Q007 for the main image, Speedy Recovery Background - U004 for the background and Calling The Doctor- G211 for the sentiment. We have a lot of nurses in our family and we appreciate all of the hard work they do, especially during these tough times.
I made this a pop-up card with the sentiment.
Above is how card looks like when closed. Below is card opened up.
To make my card this week, I began with a card base of Hammermill - Premium Colour 100 lb. cardstock, cut to 11" x 4.25". I scored this at 2.25" and 5.5". With my MISTI and Memento - Tuxedo Black ink, I stamped the images and sentiment onto the Copic Marker X-Press It Blending Card cardstock. Using my Cuttlebug and My Creative Time - Rectangle Frame Layers, I die cut the background. I coloured in the background and the nurse with Copic markers. Once this was done, I fussy cut around the nurse. I cut around the sentiment with my cutter and then chopped off the corners with my 3/8" We R Memory Keepers Corner Chomper. Using Scrapbook.com - Brights Smooth Cardstock, I attached 1 piece to the bottom half of my card base and cut the other piece to the size of 3.25" x 1.5". For the small piece, I used the same corner chomper.
The card was now ready for assembly. I applied the coloured background directly to the base colour. The nurse image was popped up onto the card using U-Line double-sided tape. I popped up the sentiment onto the smaller pink background with a single application of U-Line double-sided tape and popped up the pink background with 2 layers of U-Line double-sided tape. This was added to the bottom part of the card.
Card Recipe:
Stamps: Nurse Elizabeth Jo - Q007 (High Hopes Rubber Stamps) and Speedy Recovery Background - U004 (High Hopes Rubber Stamps)
Sentiment: Calling the Doctor - G211 (High Hopes Rubber Stamps)
Inks: Memento - Tuxedo Black
Paper: Copic Marker X-Press It Blending Card, Hammermill - Premium Colour 100 lb., Scrapbook.com - Brights Smooth Cardstock (4.25" x 5.5")
Die Cuts: My Creative Time - Rectangle Frame Layers
Tools: MISTI - Most Incredible Stamping Tool, U-Line double-sided tape, Cuttlebug, 3/8" We R Memory Keepers Corner Chomper
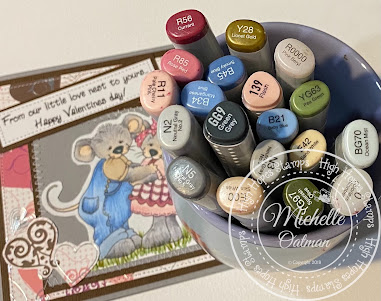
Image coloured with Copic Markers:
Skin: E21, E11, E00, E000, R30, R20
Hair: E18, E08, YR18, YR14
Hat: C1, C0, C00, R46, R14, R08
Scrubs: RV17, RV14, RV13, RV11
Booties and Glove: BG02, BG01, BG000, BG0000
Stethoscope and Supplies: C9, C7, C5, C3, C1, YR30
Shadow: C3, C2, C1
Background: C9, C7, C1, C0, C00, E21, E000, E0000, BG0000
Hope you like it and have a fantastic week!
You can find lots of inspiration from the Design Team Divas at the High Hopes blog, and the High Hopes Rubber Stamps Facebook Fan page plus you can also follow us on
Instagram, Twitter and Pinterest.